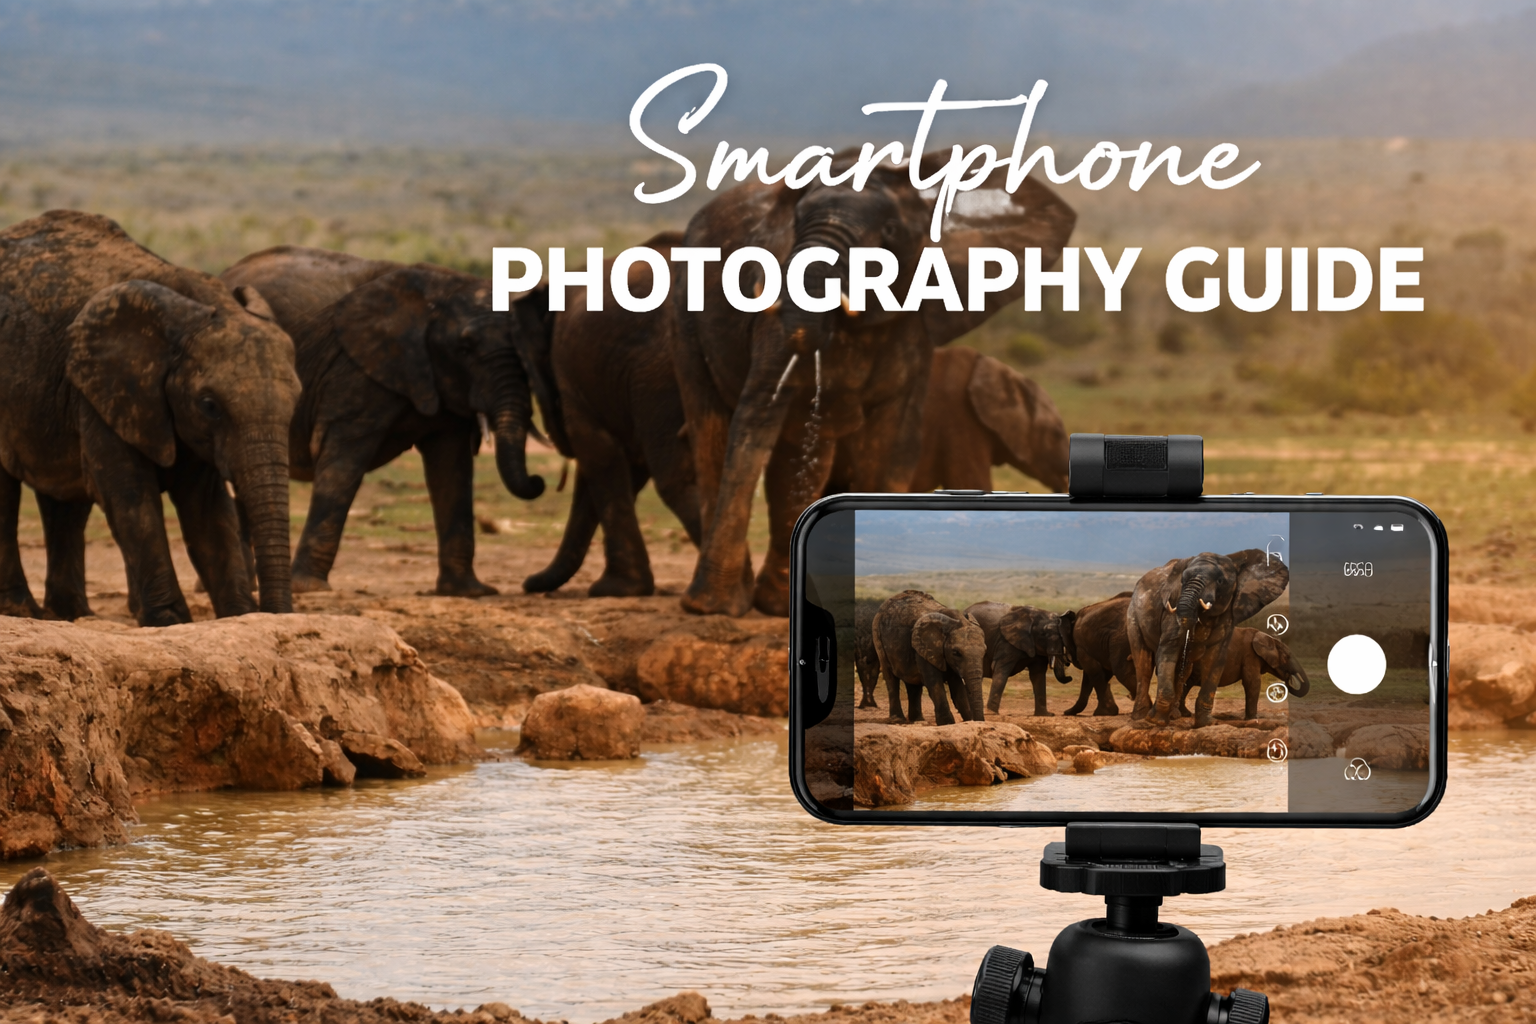
Smartphone Photography Guide – Capture the Great Migration with a smartphone – a practical guide
The honest answer — when a smartphone is enough
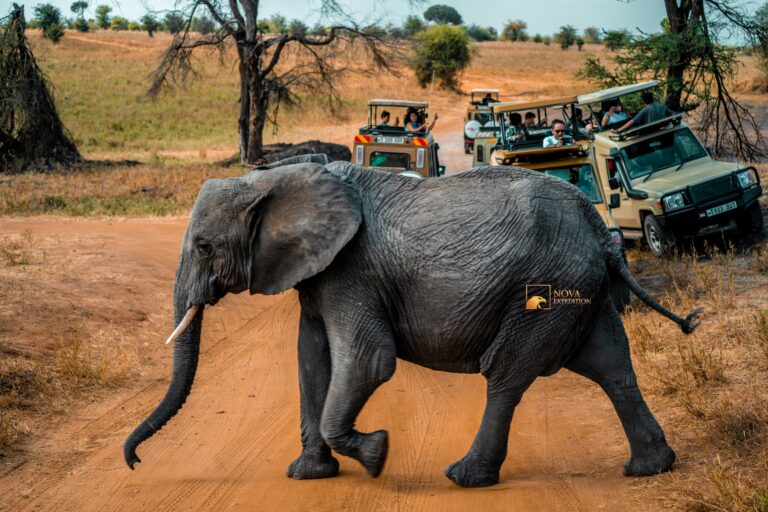
The question comes up on every safari planning forum, every Kenya travel group, every pre-trip conversation between first-time safari guests: will my phone camera be good enough? The honest answer, based on the collective experience of thousands of Mara and Amboseli visitors, is: for approximately 90% of your wildlife encounters, yes.
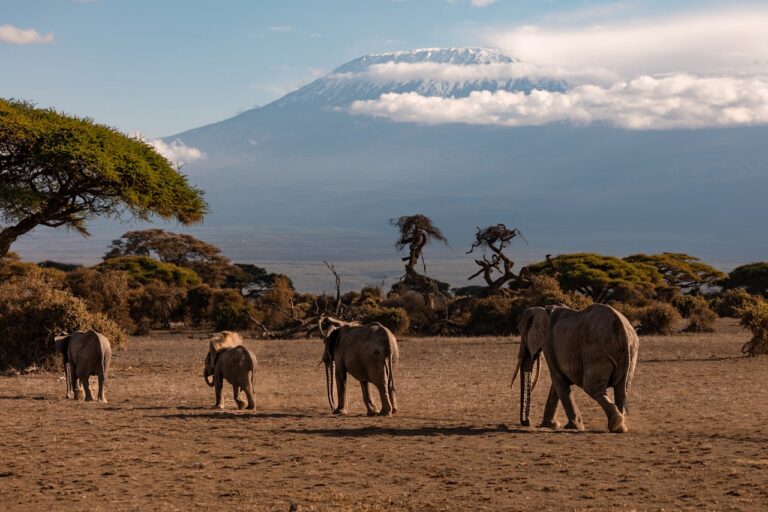
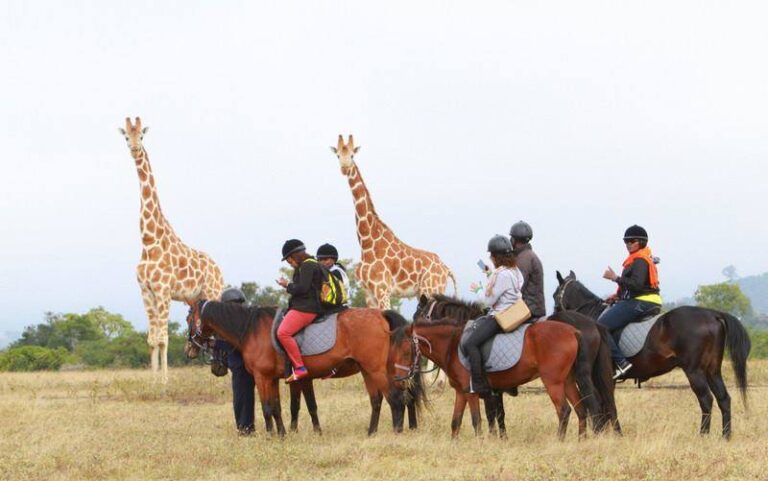
In 2024 and 2025, experienced Kenya safari guests who brought both smartphones and dedicated cameras reported that the smartphone was sufficient for the vast majority of their sightings — close encounters with lions, cheetah hunts in open terrain, elephant families at the swamp, giraffe feeding in the acacias. The significant exceptions were the Great Migration river crossings, which at many crossing points place you 60–100 metres from the action and benefit substantially from a telephoto zoom of 400mm or more.
This guide is a practical photography guide for smartphone users — specifically those using recent flagship phones (iPhone 14 Pro, iPhone 15 Pro or later, Samsung Galaxy S23 Ultra or later, Google Pixel 8 Pro or later). Older or mid-range phones will produce adequate results in good light at close distances but will struggle significantly in poor light or at range. If you are serious about wildlife photography and your phone is more than two years old, consider renting a dedicated wildlife camera for your safari.
Understanding what you are actually photographing
Before adjusting any settings, the single most important thing you can do to improve your safari photography is to understand the subject. Wildlife photography is not about reaction speed — it is about anticipation. The photographers who return from safari with the best images are not those with the fastest reflexes; they are those who watched, understood, and positioned themselves before the moment happened.
Your guide is your most important photography tool. A guide with 10 years of experience in a specific conservancy knows which cheetah will hunt this morning, which lion pride is about to move, which elephant family is heading toward the swamp. When your guide says “there’s going to be something here — let’s wait,” believe them and prepare your camera. When they say “watch the female — she’s about to charge,” your finger should already be on the shutter button.
Learning to read basic animal behaviour also helps. A cheetah scanning the horizon and shifting its weight from foot to foot is considering a hunt. A lion licking its lips and watching a herd intently is about to move. An elephant with its ears spread wide and its trunk raised is assessing a threat. Understanding these signals gives you 30–60 seconds of preparation time that is often the difference between a great image and a missed one.
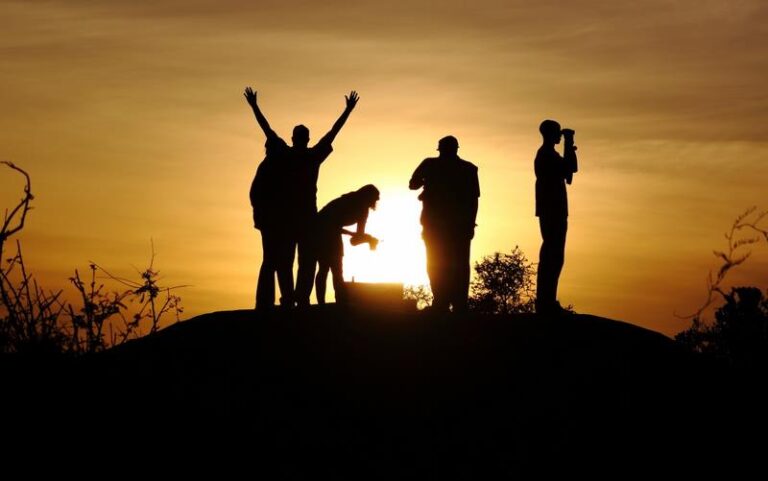
The golden hour — your most important photographic tool
Professional safari photographers spend the majority of their shooting time in two windows: the first two hours after sunrise and the last two hours before sunset. This is not arbitrary tradition — it is physics. During these windows, the sun is at a low angle, producing light that is warm in colour temperature, low in contrast, and directional in quality. It illuminates the side of subjects rather than flattening them from above, creating texture, depth, and the characteristic warm glow that makes great safari photographs look the way they do.
Midday light is harsh, overhead, and high in contrast. It bleaches colours, creates deep shadows under chins and brows, and makes fur look flat and dull. Most professional wildlife photographers rest or review images between 10am and 3pm. On a typical safari game drive schedule, this means the morning drive (leaving camp at 6am) and the afternoon drive (leaving at 3:30–4pm) are your primary photography windows.
The morning window is particularly valuable because wildlife is most active and the light is most beautiful simultaneously. A lion walking through long grass in the first horizontal rays of dawn — the grass backlit, the lion’s face illuminated from the side in warm gold — is the image that appears in wildlife calendars. It happens at 6:15am. Plan accordingly.
Camera settings for safari — iPhone and Android
iPhone 14 Pro, 15 Pro, and later
The iPhone’s flagship cameras are genuinely excellent for safari photography when used correctly. Key settings to configure before you arrive:
- Enable ProRAW (Settings → Camera → Formats → Apple ProRAW). ProRAW captures the full sensor data with significantly more dynamic range and editing latitude than standard JPEG or HEIF. Essential for shots where the background sky and the foreground animal have very different exposures — a common safari situation.
- Use the 5x telephoto lens (iPhone 15 Pro / 15 Pro Max). This is the most important upgrade in recent iPhone cameras for wildlife photography — a genuine 5x optical zoom that maintains image quality at distance. For close-to-mid-distance subjects (within 50 metres), the 5x telephoto produces consistently excellent results.
- Action mode for movement (iPhone 14 or later). When photographing running animals, galloping wildebeest, or a cheetah at full sprint, enable Action mode. It uses advanced computational stabilisation to produce sharp video of fast-moving subjects even in a moving vehicle.
- Burst mode for peak action. Hold the shutter button to activate burst mode, or press Volume Up as a burst shortcut (Settings → Camera → Use Volume Up for Burst). For any fast action — a lion sprinting, birds taking flight, a river crossing — burst mode captures the peak moment within a sequence you can review later.
- Lock focus and exposure. Tap and hold on the subject in the viewfinder until “AE/AF Lock” appears. This prevents the camera from reacquiring focus or adjusting exposure when you compose or move the frame — critical when photographing an animal at the edge of the frame or in complex environments.
- Telephoto for compression. The 5x telephoto not only brings distant subjects closer — it also “compresses” the scene, making the background appear closer to the subject. This is the same visual effect that makes great wildlife portraits look the way they do: the animal fills the frame, the background is compressed and softened, and there is a sense of depth and intimacy that the wide lens cannot produce.
Samsung Galaxy S23 Ultra / S24 Ultra
The Samsung flagships offer a 10x optical zoom that is genuinely competitive with dedicated telephoto lenses for the 30–80 metre range. Enable Expert RAW mode for maximum image quality. The AI zoom mode (Space Zoom) is useful for identification at extreme distances but produces images too soft for high-quality photography beyond 20–30x digital zoom. Use optical zoom (10x) for real results; use digital zoom to spot and identify, then move closer.
Photographing the Great Migration with a smartphone
The Great Migration river crossings present the most challenging photography scenario on any Kenya safari, and the honest reality is that they are the one situation where a smartphone’s limitations become most apparent.
The Mara River is wide — 60 to 100 metres in most places. Vehicle positions at crossing points vary enormously: some positions place you almost at water level, close enough that a phone’s main lens or short telephoto is entirely adequate. Other positions, particularly in the national reserve where vehicles queue on the far bank or on higher ground, leave you 80–120 metres from the crossing — a distance at which even the iPhone 15 Pro’s 5x telephoto produces subjects that are small in the frame.
Here is what one experienced safari guest reported from a 2024 trip with an iPhone 15 Pro and a Sony camera with a 100–400mm lens: “90% of the time our guide got us close enough that my camera lens [55–70mm equivalent] wouldn’t work and the phone was all we needed. The main exception was the wildebeest migration crossings. We were far enough away that I needed the camera. Those were the only photos where the phone was insufficient.”
For the migration crossings specifically:
- Use burst mode continuously during the crossing — crossings happen fast and the best moments (a wildebeest mid-leap, a crocodile surfacing) last fractions of a second.
- The 5x telephoto (iPhone 15 Pro) or 10x telephoto (Samsung S Ultra) gives you the best phone performance at distance.
- If your guide can position you within 40 metres of the crossing point, a phone will produce excellent results. Beyond 60 metres, the images will show the spectacle but lack detail in individual animals.
- Video often works better than stills for crossings — the movement and sound of a crossing is captured better in video than in static frames, and phone video quality is outstanding.
- If crossing photography is your primary goal, rent or borrow a camera with a 300–500mm zoom for the 2–3 days you will spend at the river. Use the phone for everything else.
Stability — the single biggest improvement you can make
The most common cause of blurry safari photographs is not inadequate equipment. It is camera shake. In a moving 4×4 on a rutted dirt track, with the engine running and the vehicle swaying as wildlife moves around it, maintaining a stable shot requires physical technique that most first-time safari photographers have not developed.
Several solutions significantly reduce camera shake:
- Ask the guide to stop and turn off the engine for important shots. Engine vibration is the primary source of camera shake in stationary situations. Most guides will do this automatically for quality sightings; if yours doesn’t, ask. It makes a dramatic difference.
- Use a bean bag or dedicated phone mount on the window. A bean bag draped over the vehicle’s window frame or roof rail provides a stable, moldable rest for the phone or camera. Even a small cloth bag filled with rice serves this purpose and costs nothing. Commercial bean bags designed for camera stabilisation are available for $20–40 and are worth carrying.
- Brace yourself against the vehicle. Steady your elbows on the door frame or roof rail. Your body should be as still as possible; treat the phone as if it were attached to the vehicle rather than floating in your hands.
- Increase your shutter speed. In ProRAW or Pro mode, set the shutter speed to at least 1/500s for moving animals and 1/1000s for fast action. A fast shutter speed freezes both subject movement and camera shake. This requires enough light — it is another reason the golden hour matters: there is simply more light available for faster shutter speeds.
Composition — what separates great safari photos from records
Most safari photographs are records: evidence that you were in a specific place and saw a specific animal. Great safari photographs tell stories, create emotional responses, and make viewers feel the experience vicariously. The difference is almost entirely compositional.
- Fill the frame. The most common mistake in safari photography is photographing animals at the size they appear to the naked eye — tiny in the middle of a large empty space. Your goal is to make the animal as large as possible in the frame while retaining enough context to tell the story. A lion that fills 60% of the frame is a portrait; the same lion at 10% of the frame is a landscape with a lion in it. Both have their place, but the portrait creates more emotional impact.
- Shoot from vehicle level. Most safari vehicles have pop-up roofs or roof hatches. Standing in the hatch and shooting downward at animals creates the “tourist in a car” perspective. Crouching down so the camera is at the animal’s eye level — even if this means holding the phone lower in the hatch — creates an intimate, ground-level perspective that feels dramatically more immediate.
- Look for the eyes. In wildlife photography, the eyes are the centre of emotional connection. If the animal’s eyes are sharp and in focus, the image works even if the rest of the body is slightly soft. If the eyes are out of focus, no amount of technical excellence elsewhere will save the image. Tap to focus on the eyes specifically, not on the general area of the head.
- Use negative space intentionally. A lone cheetah on an empty plain, positioned in one third of the frame with the vast savannah occupying the other two-thirds, tells a story about solitude, scale, and the landscape’s emptiness. This kind of composition — animal in the frame, landscape dominant — can be as powerful as a close-up portrait when the light is right and the framing is deliberate.
- Photograph behaviours, not just species. A sleeping lion is a record. A lion nursing cubs, a cheetah mid-stride at full sprint, a baby elephant learning to use its trunk — these are moments that tell stories. Be patient enough to wait for the behaviour rather than shooting the static presence.
Managing storage and backing up
A one-week Kenya safari, shooting ProRAW, will fill any phone’s storage. Plan your storage strategy before you leave:
- Enable automatic iCloud/Google Photos backup over WiFi. Most safari camps have WiFi in the main area (dining room, lounge). Set your photos to upload automatically when you connect to the camp WiFi each evening. This transfers your day’s shooting to the cloud and frees storage for the next day.
- Consider a portable SSD. A 1TB portable SSD (Samsung T7, WD My Passport) can be connected to an iPhone via USB-C (iPhone 15 or later) or via a Lightning-to-USB adapter (iPhone 14 or earlier) for manual backup without relying on internet connectivity.
- Delete ruthlessly each evening. Burst mode produces large numbers of nearly-identical images. Review each burst during the evening and delete all but 1–2 frames. You came for the best moment in the sequence, not all 47 frames of a wildebeest turning its head.
- Bring a portable power bank. ProRAW mode and constant GPS use drain a phone battery fast. A 20,000mAh power bank keeps your phone charged through a full day of drives without access to a power socket.
When a phone is genuinely not enough
For completeness: there are situations on a Kenya safari where a smartphone’s limitations become decisive, and where anyone serious about the photography should consider a dedicated camera.
- Great Migration river crossings at distance — As described above, crossings beyond 60 metres require 300–500mm of optical zoom to produce frame-filling images of individual animals.
- Birds in flight — Raptors, storks, and other large birds in flight require both reach and fast autofocus tracking that most smartphones cannot maintain reliably.
- Predator action in low light — Dawn and dusk predator hunts produce extraordinary images but require cameras with large sensors and fast lenses that smartphones cannot replicate. A lion hunting in the last 20 minutes of light is borderline for a smartphone camera and excellent for a mirrorless camera with a fast 400mm lens.
- Night drive wildlife — Spotlit nocturnal wildlife (serval cats, aardvarks, genets) requires high ISO performance that only dedicated cameras can achieve without unacceptable noise.
- Large-format printing — If you want to print your safari images at A2 or larger, ProRAW from the latest iPhones is borderline adequate. A camera with a 45–60MP sensor is significantly better for enlargements.